How to deploy the bot locally
Local Bot Setup
Section titled “Local Bot Setup”To test the bot locally, you need to create your own GitHub App and configure it to point to your local machine.
To get your app running against GitHub:
1. Create a GitHub App for testing in your account:
Section titled “1. Create a GitHub App for testing in your account:”- Go to your account’s GitHub developer settings
- Create a new GitHub app
When creating your app, the fields that are required to fill out are:
- name: Set this to any name that you like. It needs to be a globally unique name on GitHub
- homepage url: Set this to anything (e.g. allcontributors.org is fine)
- webhook url: This also can be set to anything.
The fields below also need to be filled out and the values are important:
- Set webhook secret: to
development - Set Permissions to the permissions [defined in the app.yml file:}
(https://github.com/all-contributors/all-contributors-bot/blob/main/app.yml#L54),
- Repository contents: Set to
read & write - Set Issues to read
- Set Pull Requests to read
- Set Repository Metadata to read
- Repository contents: Set to
_Note that some of the settings in the app.yml file are commented out.*
Next:
Subscribe to Eventsshould be set as defined in the app.yml,- Check the checkbox to subscribe to the Issue comment event
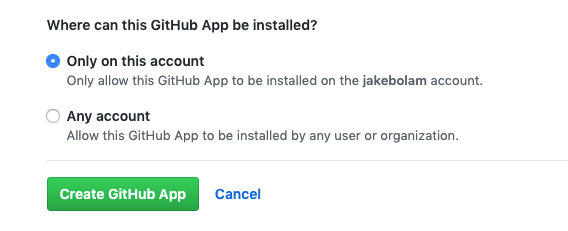
- Ensure Where can this GitHub App be installed? is set to only this account
2. Configure Your GitHub App for testing
Section titled “2. Configure Your GitHub App for testing”You should now have create an app! Now it’s time to configure it.
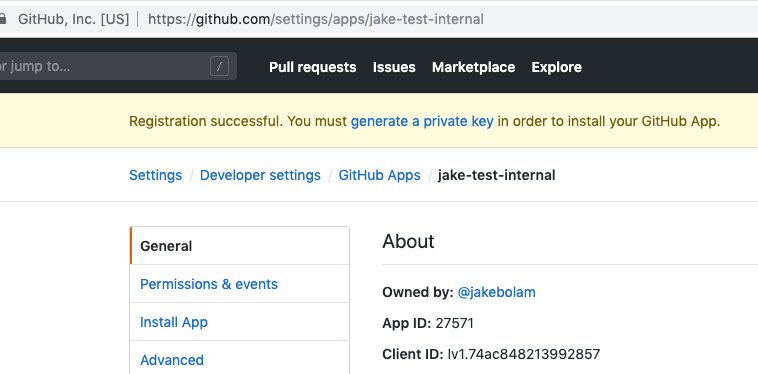
On the app page, you will notice a side bar with several tabs including General, Permissions & Webhooks, and Install App.
-
On the General Tab of your configured app.
- scroll down to the Private Keys section and click the Generate Private Key green button. This will trigger a .pem file to be created and will download it to your computer (likely to your Downloads directory).
- Move this file so you can retrieve it later.
- Call it something like
allcontributorsbot.pem.
-
Next, click on the Install App tab. Install the app/bot on your user
IMPORTANT: Create a new repository for testing the bot; Then you can install the app on that repository only. This is important to avoid the bot interfering with other repositories you may have.
3. Configure Your local to talk to the GitHub app
Section titled “3. Configure Your local to talk to the GitHub app”Now that your app is created, you need to configure your local environment.
Create a file named .env using the following template:
APP_ID=WEBHOOK_SECRET=developmentPRIVATE_KEY=.env file values
Section titled “.env file values”APP_ID: The app ID is a 7 digit numeric value. You can find it on the General tab of the developer settings for your app.WEBHOOK_SECRET: Leave this value asdevelopment(you set it to development when you created your app on GitHub)PRIVATE_KEY: This key is stored in your .pem file that you downloaded above. To access the value stored in the file:- CD to the
allcontributorsbot.pem.pemfile (or whatever you called it when you downloaded it above) in your favorite shell. - run
openssl base64 < allcontributorsbot.pem | tr -d '\n' | pbcopyon the file. This will copy the base64 file contents onto your clipboard. Paste that value into the line forPRIVATE_KEY
- CD to the
4. Setup a test GitHub repository/with issues PR
Section titled “4. Setup a test GitHub repository/with issues PR”- Setup a repository under your name (the name on GitHub where the bot is installed)
- Enable issues and pull requests
- Create an issue
- Comment on the issue:
@all-contributors please add @jakebolam for design(replace @jakebolam with your username)
To verify if the bot should have seen this goto your app settings. On the Advanced Tab, Click the most recent deliver to see the payload. It should look something like this:
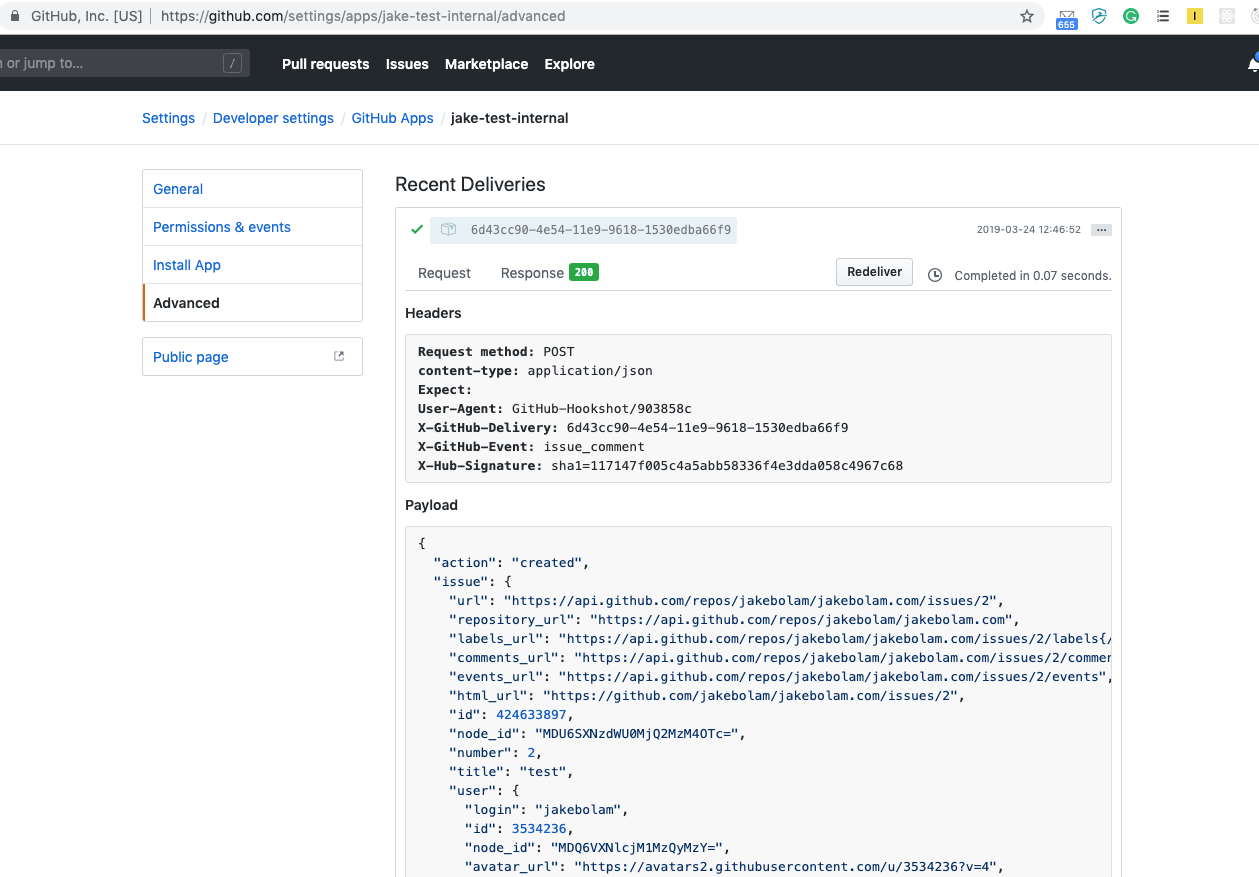
Copy the payload and save it locally in a file called
test-webhook-payload.json. Also make note of the headers under the ‘Headers’
section.
5. Send your first hook
Section titled “5. Send your first hook”- Install the node modules for the bot
yarn install - Run the bot
yarn start - Curl the bot (or use Postman, using the headers you got from the previous
step and the content from
test-webhook-payload.json) If you’re usingcurl, this will look something like this:
curl -vX POST http://localhost:3000/ -d @test-webhook-payload.json \--header "Content-Type: application/json" \--header "User-Agent: GitHub-Hookshot/4d63832" \--header "X-GitHub-Delivery: 413857f0-8b61-11eb-92be-566b7aa5f6ee" \--header "X-GitHub-Event: issue_comment" \--header "X-GitHub-Hook-ID: 297478976" \--header "X-GitHub-Hook-Installation-Target-ID: 105785" \--header "X-GitHub-Hook-Installation-Target-Type: integration" \--header "X-Hub-Signature: sha1=ed222e6750dc2954a422ed8dd371f9da66368104" \--header "X-Hub-Signature-256: sha256=04d0943f20545ac8df974466c502e4b9743d3618149b03f4ea1a9e658bf31fd0"If there are no errors in the bot console, check your GitHub test issue to see the bot respond :tada:
Alternatively, instead of having to mock the webhook payload using curl, you
can add an additional environment variable called WEBHOOK_PROXY_URL and set
it to a smee.io channel URL.
Once you’ve done that, set the Webhook URL for you app in GitHub to the same channel URL and, after a server restart, your bot will be able to directly respond to incoming webhooks.